
- Download and install the virtualbox application for MacOS or another appropriate Operating System. Then install and configure Virtualbox on the host machine.
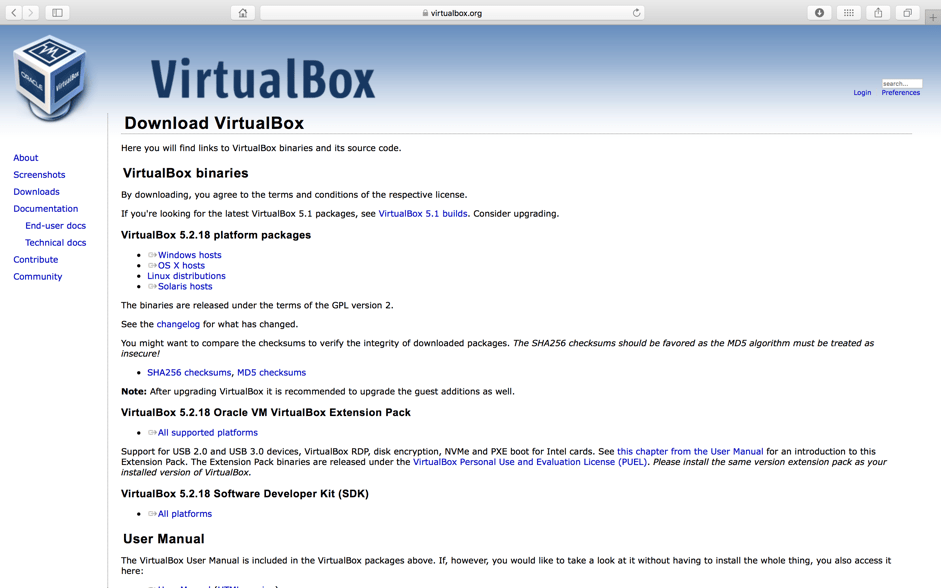
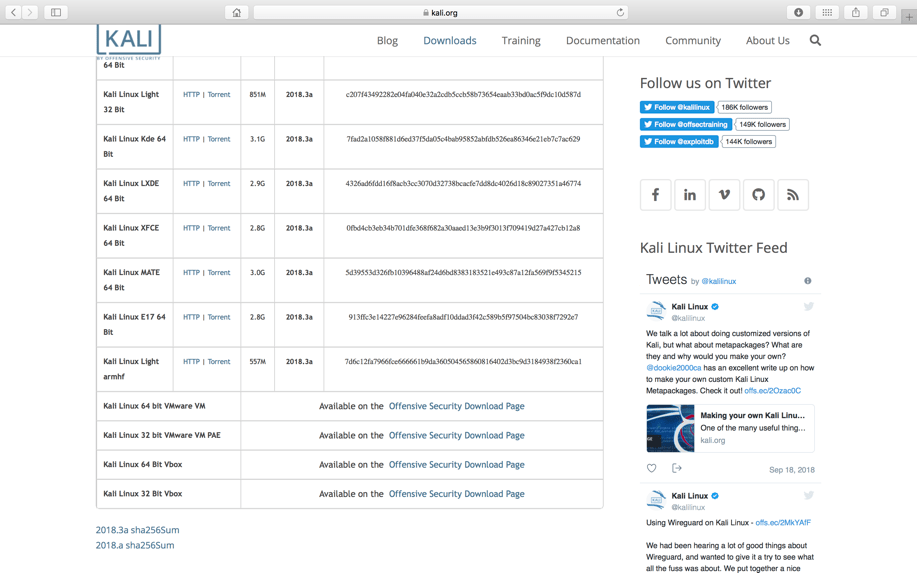
- Download an ISO image for the newest release of Kali Linux. This can be found on the Kali Linux website. The website links to virtual Kali images created for virtualization platforms such as virtualbox. You will need to select the ISO file for Virtualbox. I’ve downloaded the Kali Linux 64bit vbox image.
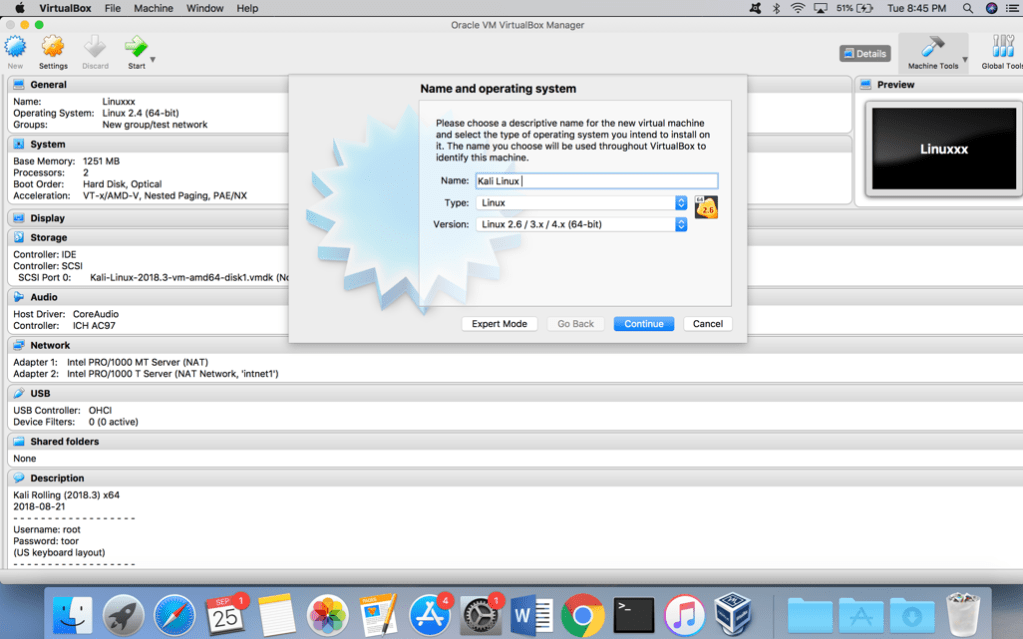
- Within virtualbox, create a new machine for the Kali Linux image file. The name of the operating system will be Kali Linux and virtualbox will attempt to guess the type of machine you are creating based on the name. Virtualbox identifies that I am creating a Linux machine and I selected the appropriate version. I have downloaded a 64bit ISO file so I need to ensure that I select a 64bit version of Linux.
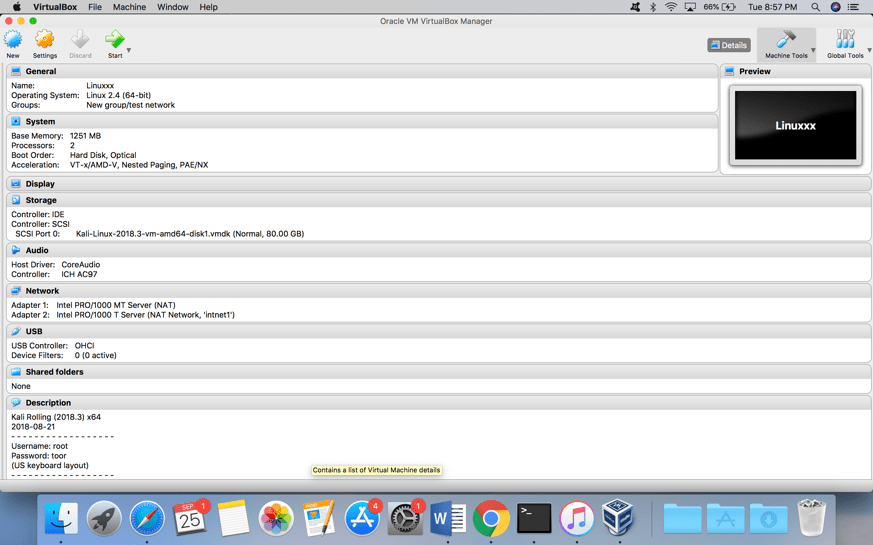
- You will then need to create a virtual disk from the image file you have downloaded from the Kali website. The appropriate RAM and image size need to be determined based on the host machines capabilities. The memory I have allocated is 2048 mb for the base memory with dynamically allocated memory for the virtual machine.
- Start the virtual machine and it will boot the machine from the optical drive that you have created. Once the booting process has completed you will have reached the log in page. The username provided for the VM image is Root and the password is toor. This will log you in as the “root” user with administrative privileges.
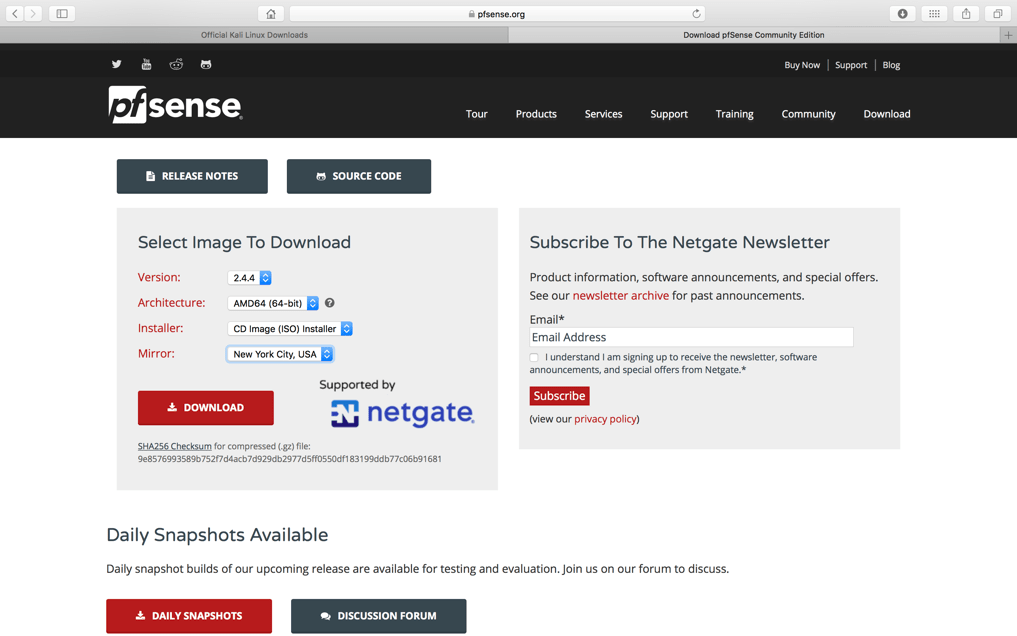
- After successfully creating the Kali Linux machine, it is time to create a second virtual machine for the PFsense firewall that will also be a part of the environment. The PFsense firewall can similarly be downloaded from the PFsense website. I downloaded an image file that was a 64bit mirror image from New York City.
- Back within virtualbox, a new virtual machine needs to be created to load the PFsense ISO file. The PFsense firewall will need to be connected to the bridged network in network adapter 1 and then to the internal network named intnet1.

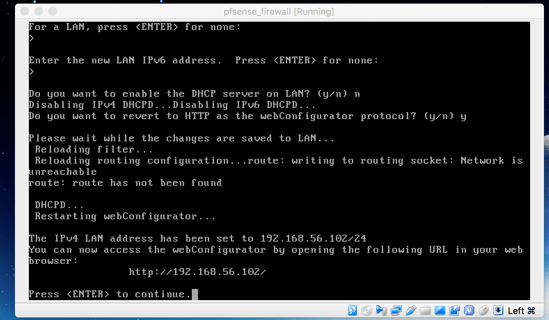
- The firewall is done installing and booting into the Virtual machine. The previously downloaded ISO image needs to be ejected from the optical drive to complete installation. The user then needs to set up the Firewall IP address to be on the internal network of the virtual machines. The PFSense firewall confirms that the web interface is ready to use by displaying the appropriate IP address 192.168.56.102.
- I then use the Kali Linux vm to ping the firewall IP and check that the machines are on the same network.
- To confirm that the Kali Linux vm and the PFsense firewall are on the same Internal network I used the browser to connect to the Web interface of the firewall at 192.168.56.102
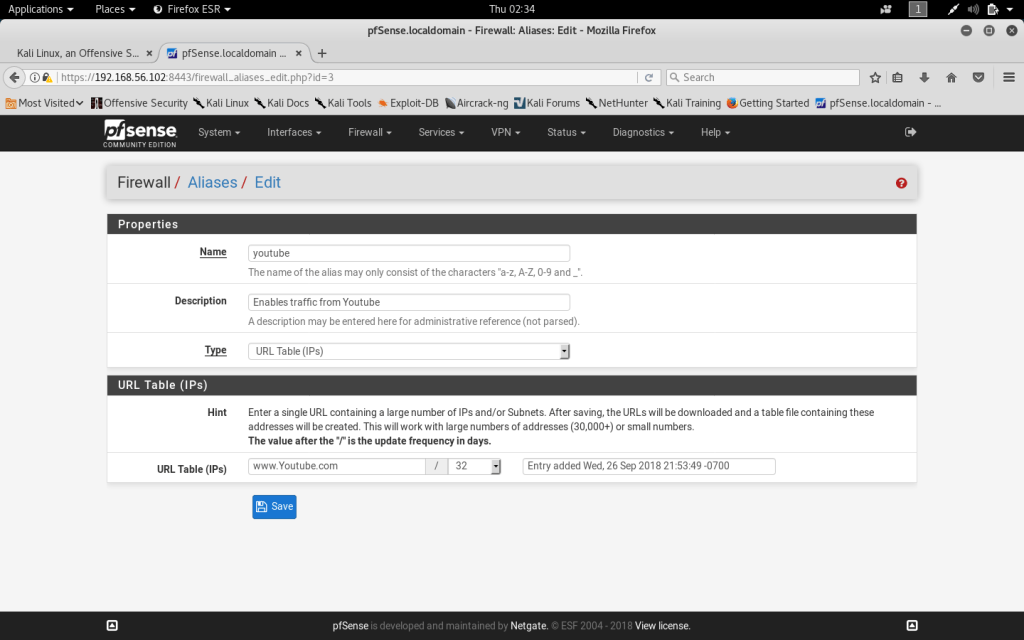
- At this point the PFSense firewall is completely installed and configured to be on the same network as the Kali Linux machine. The next process involves setting up the PFSense firewall settings.


Leave a comment